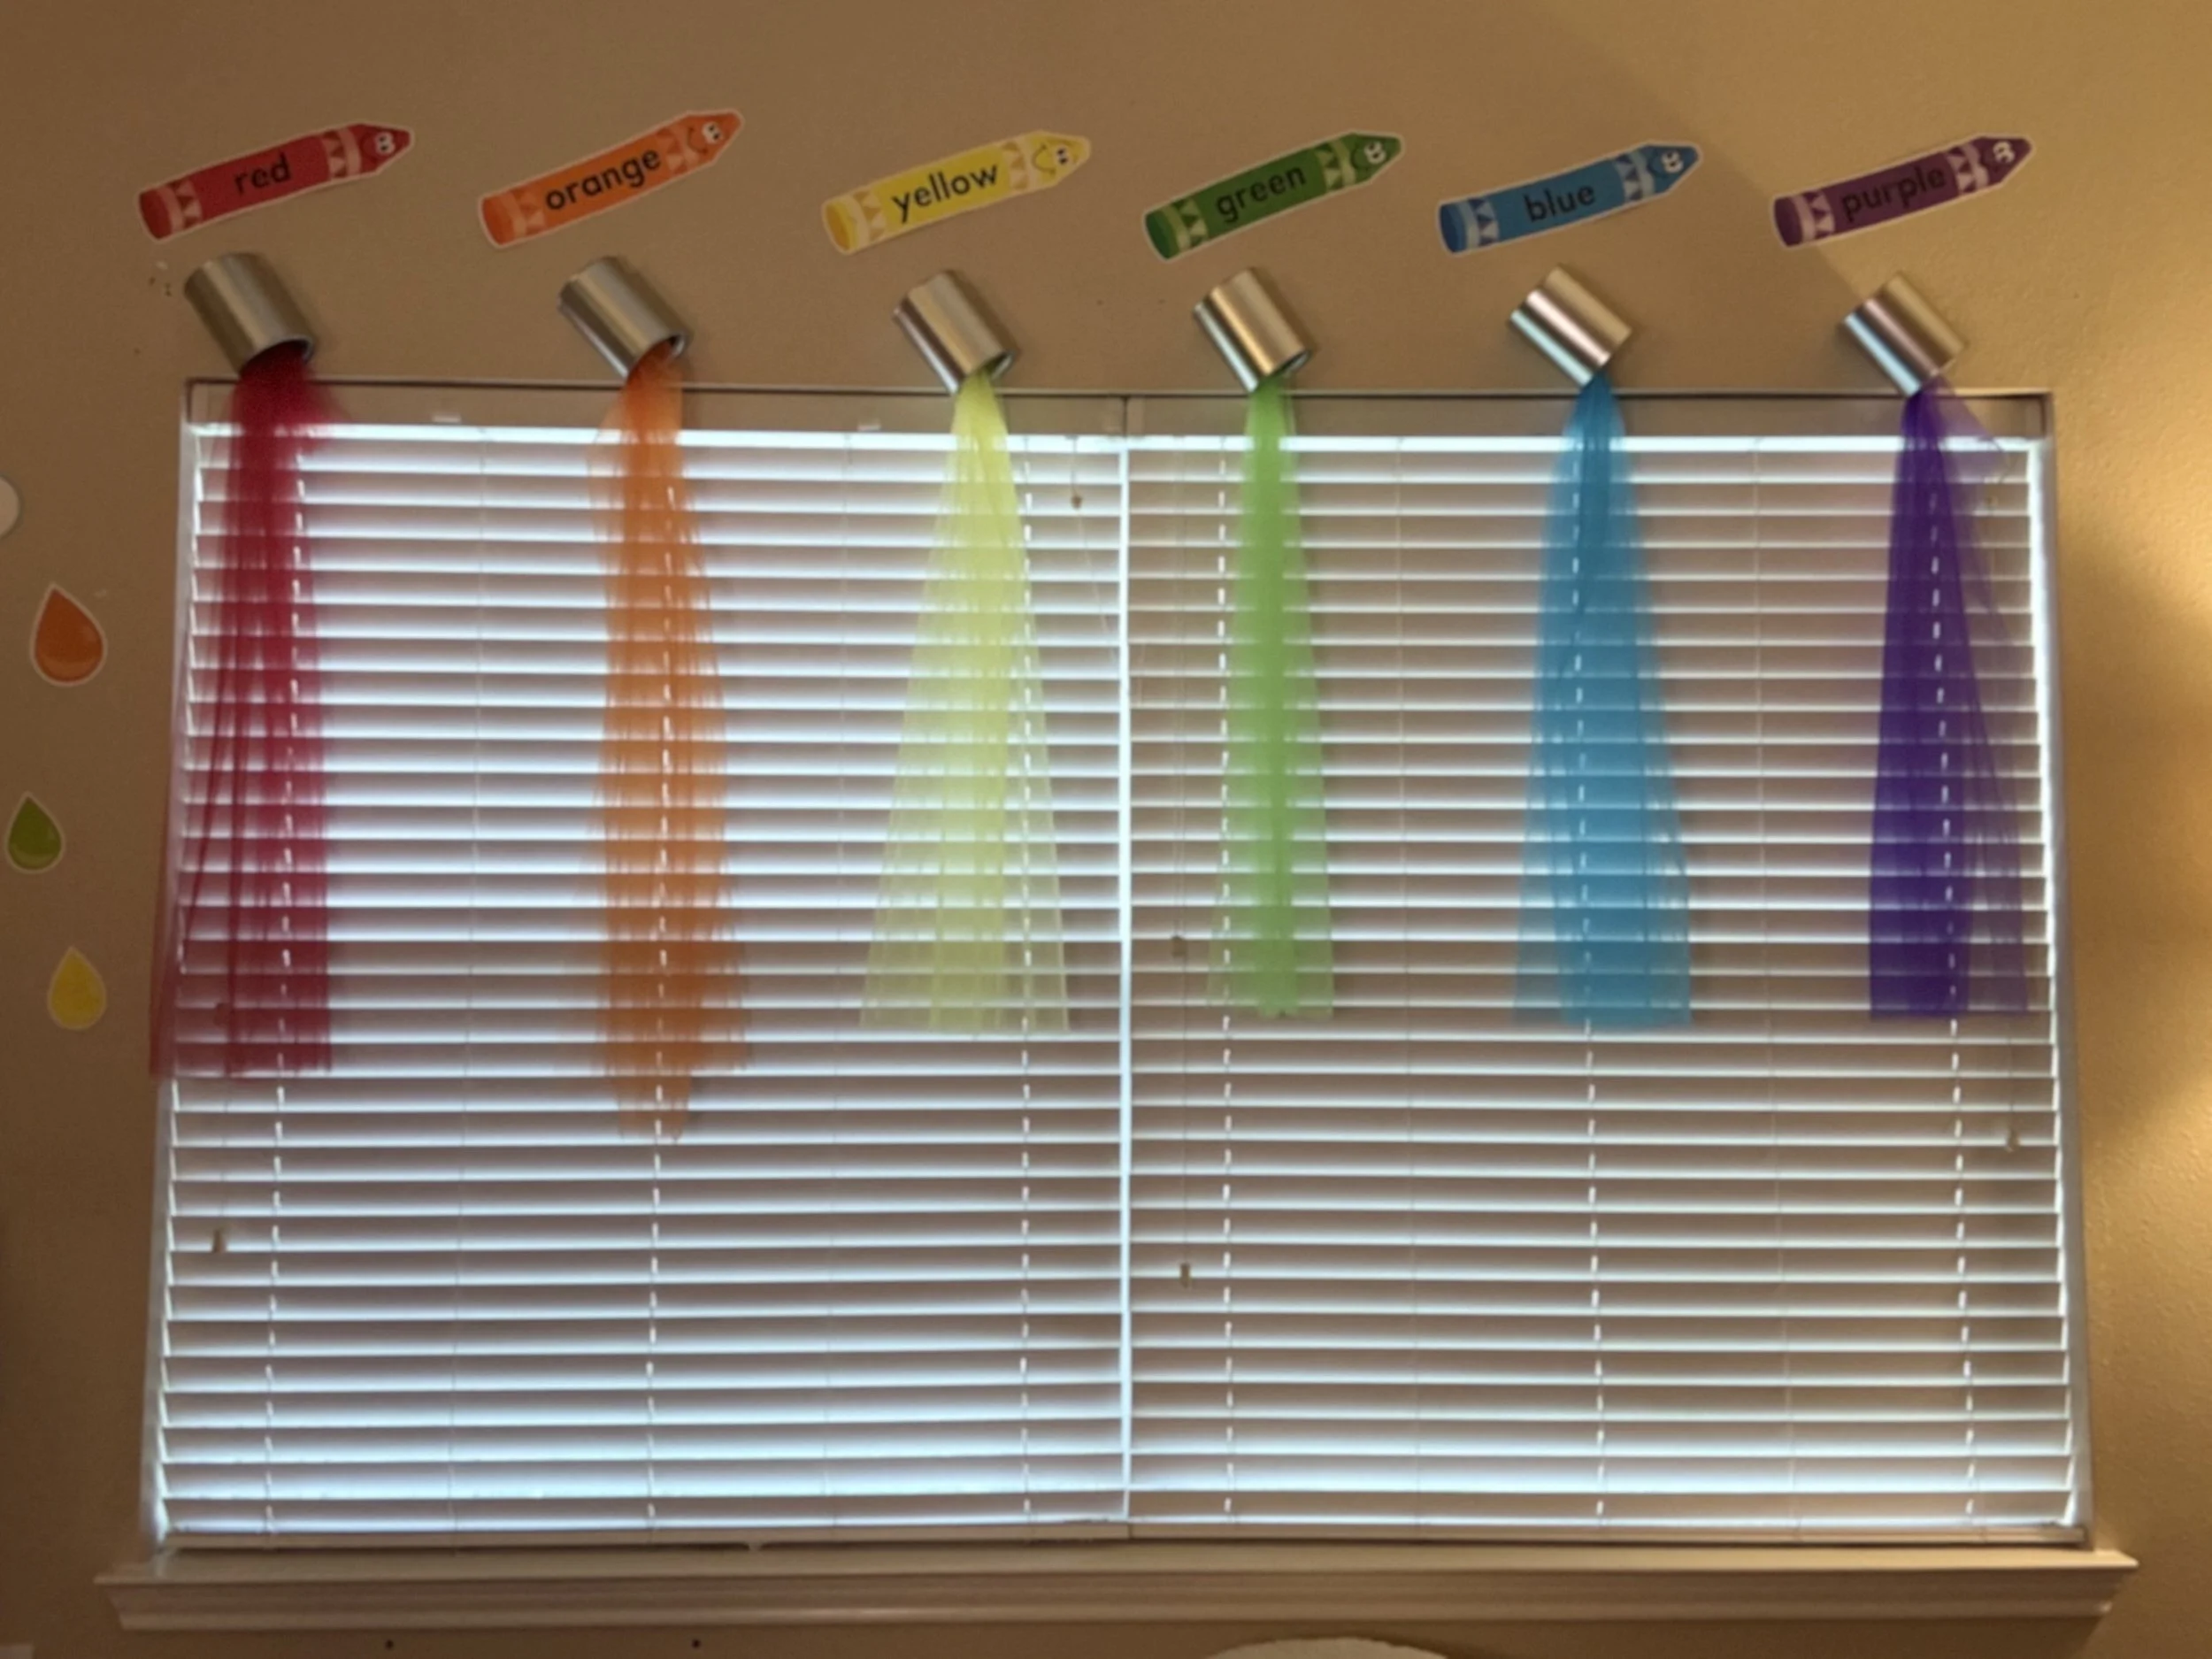
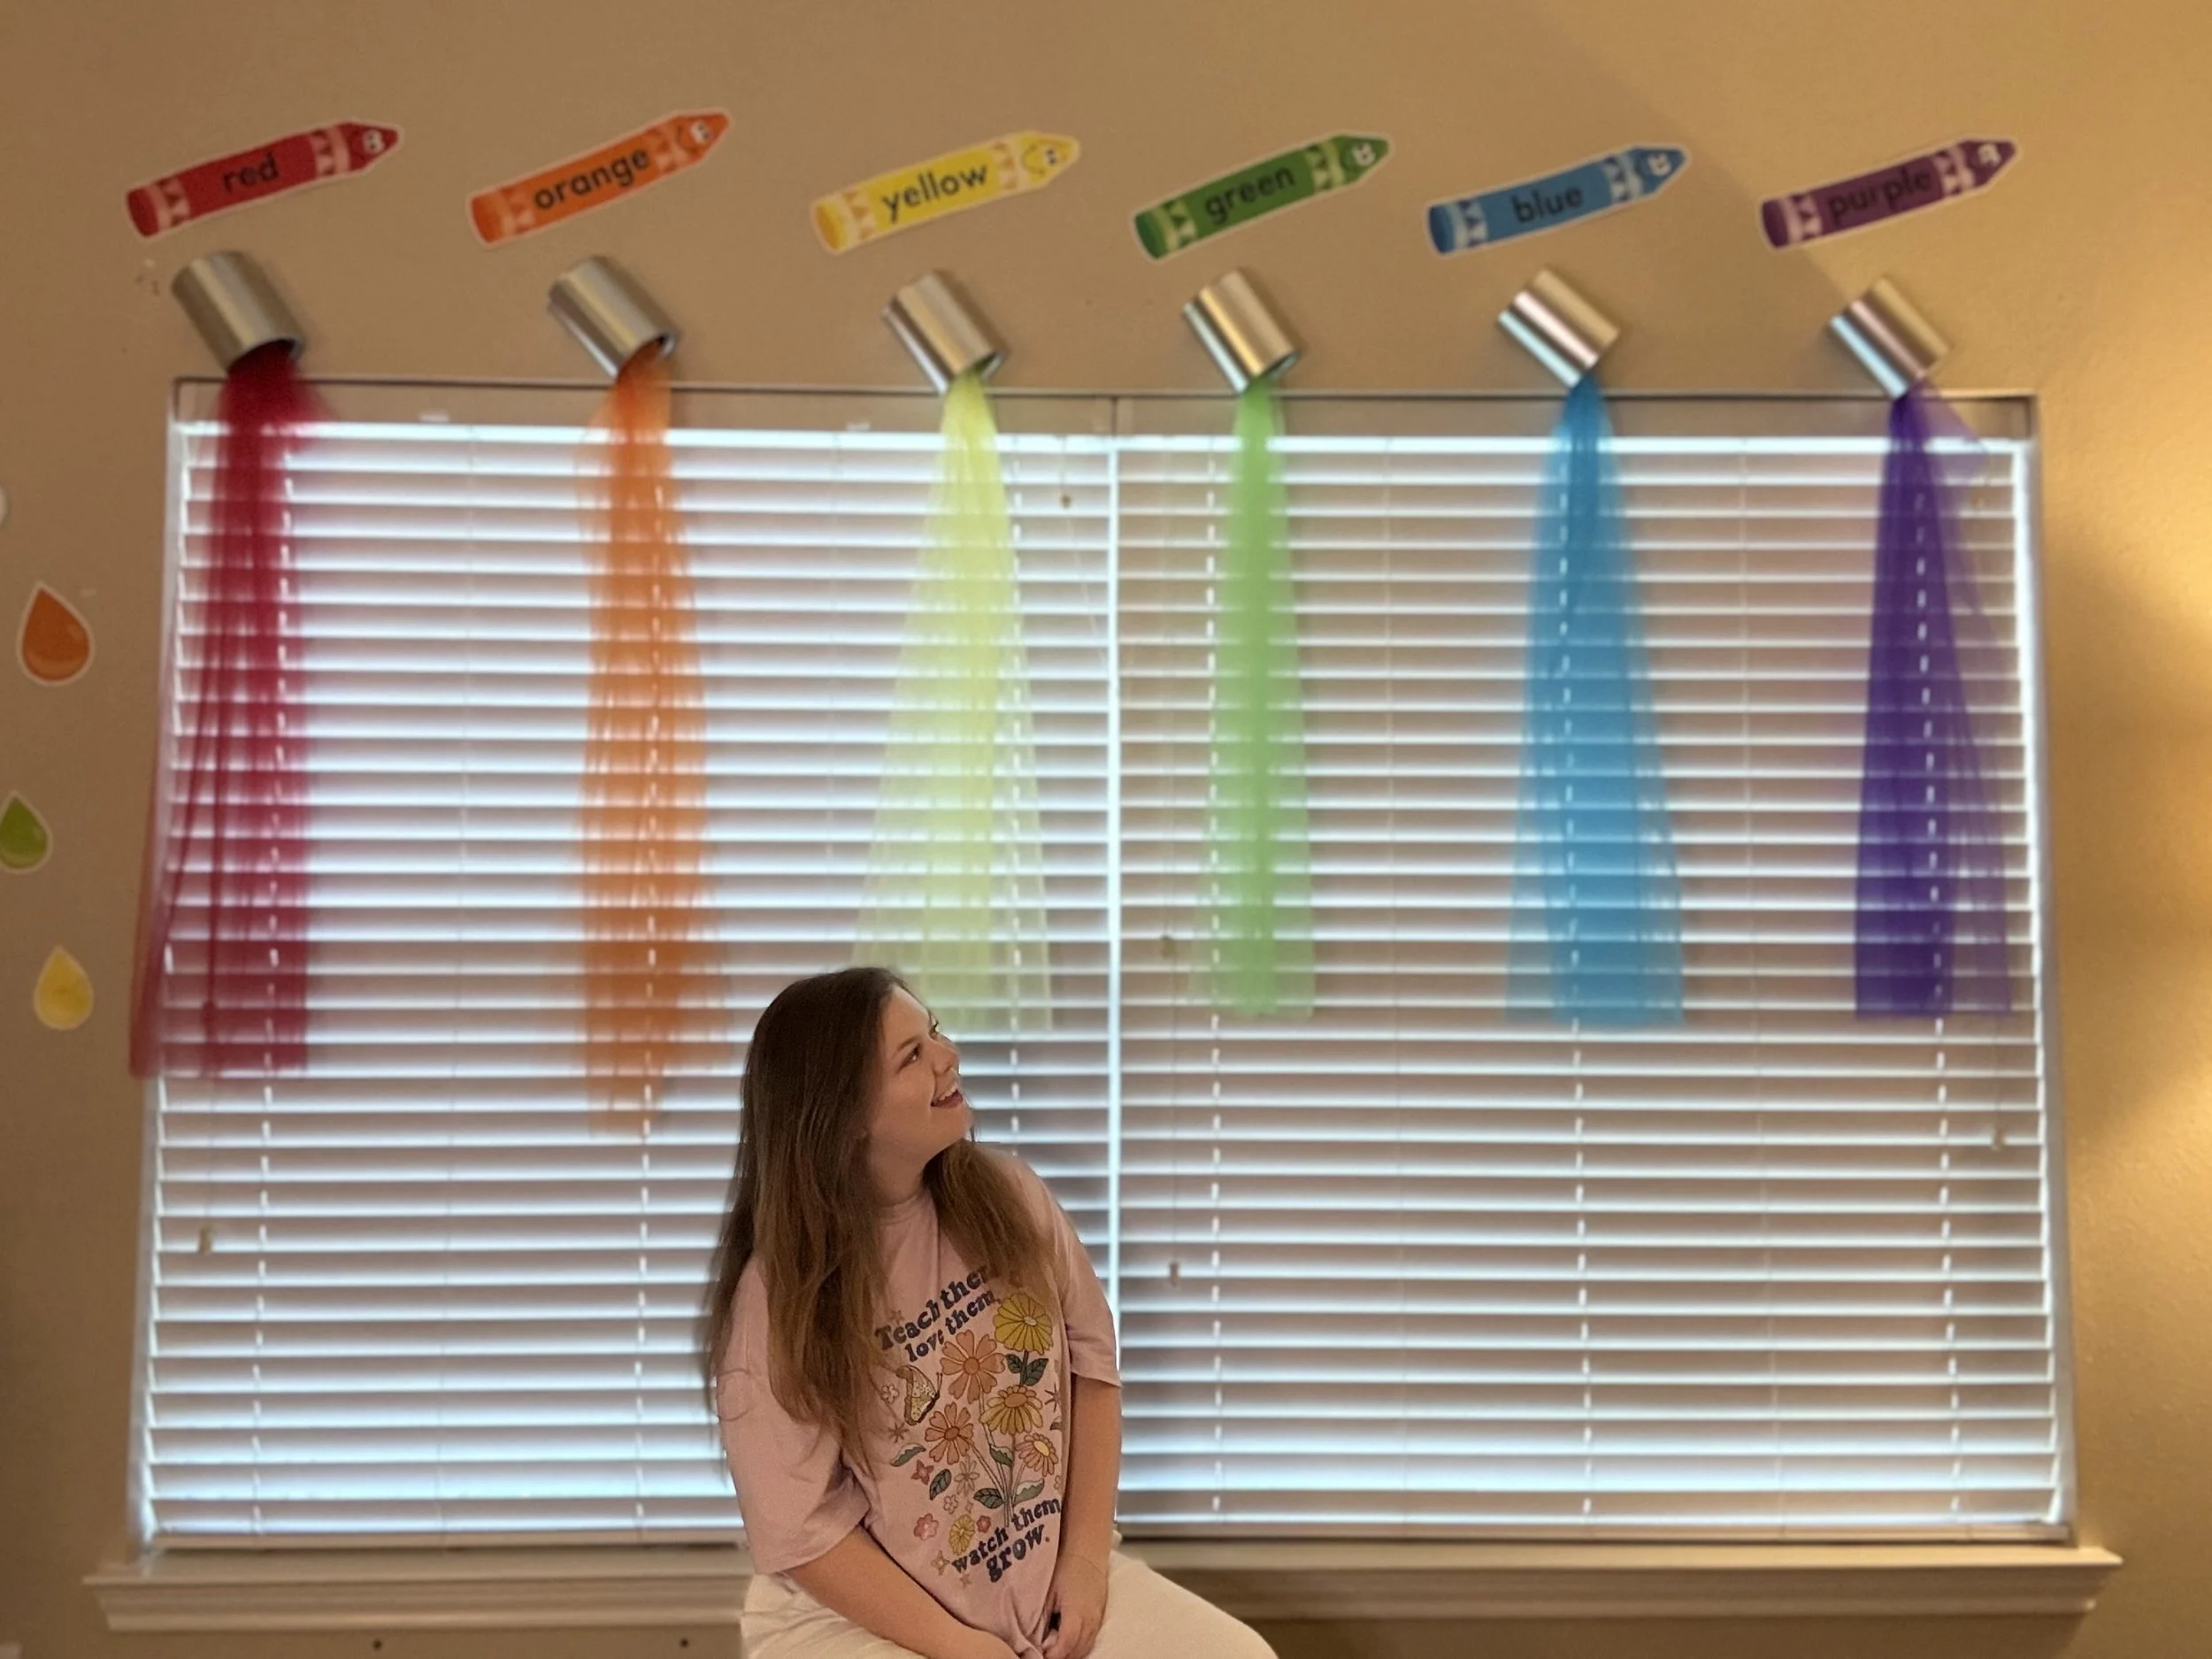
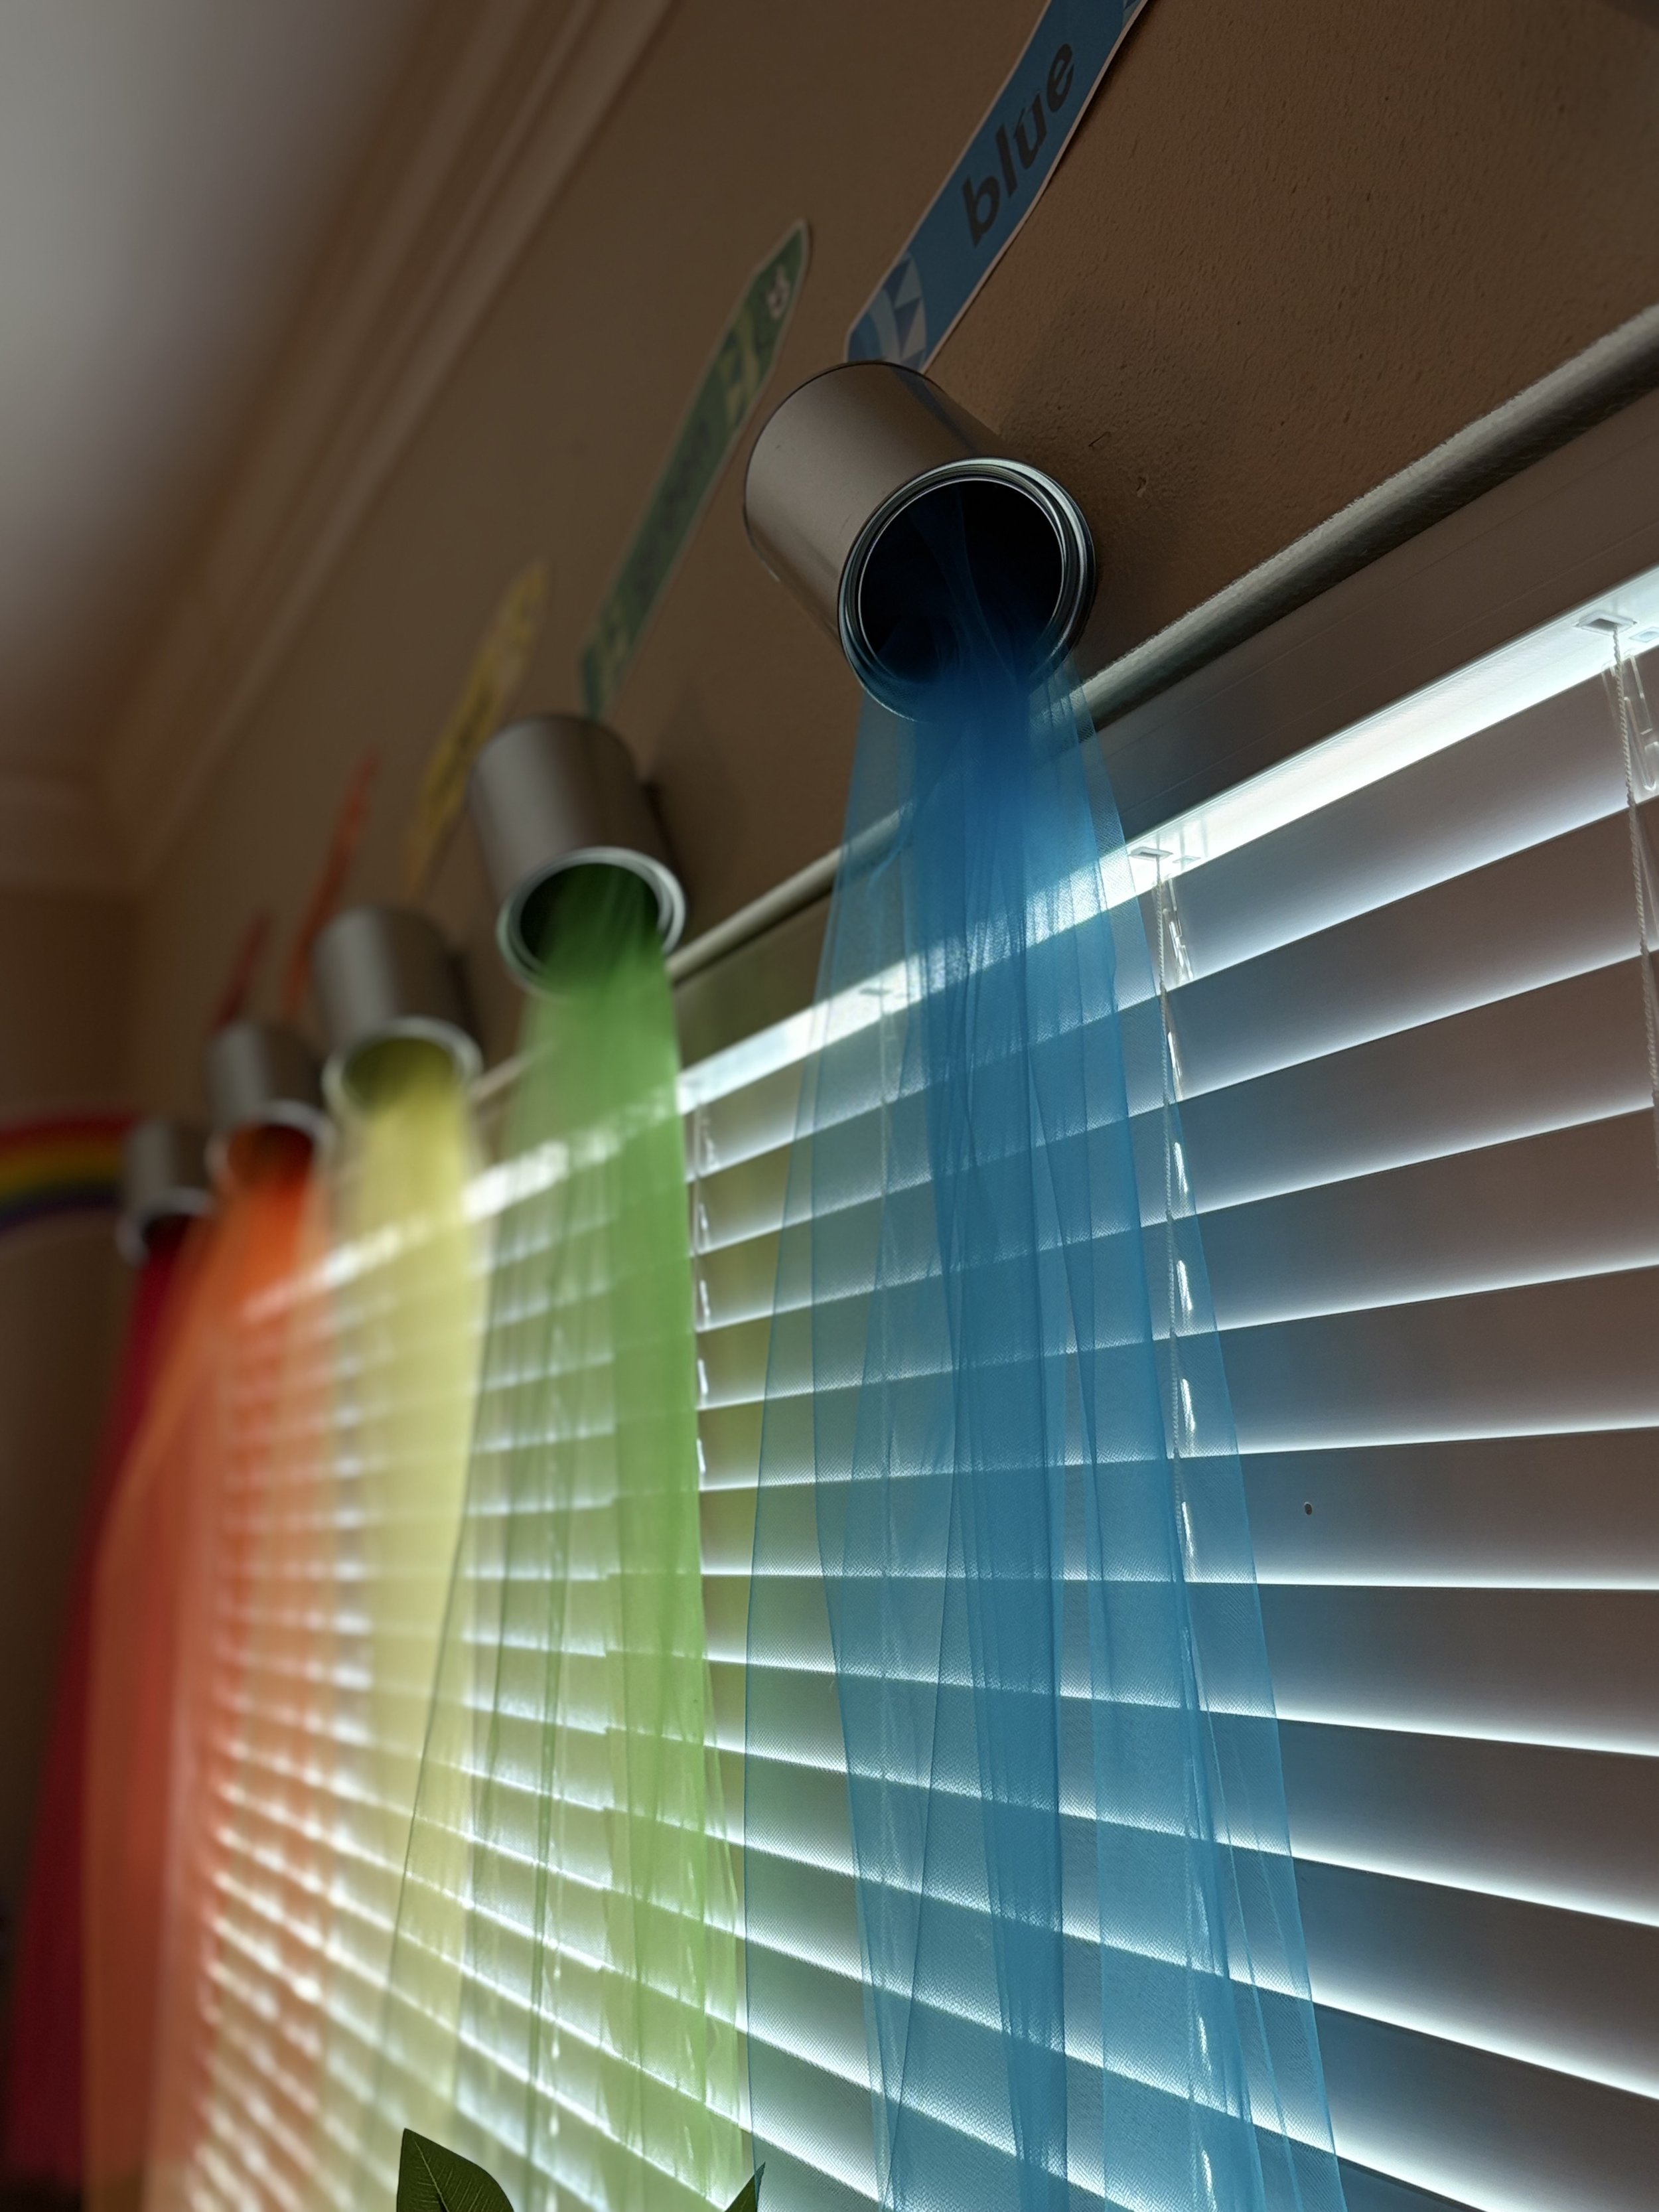
DIY: Rainbow Paint Bucket Wall Decor
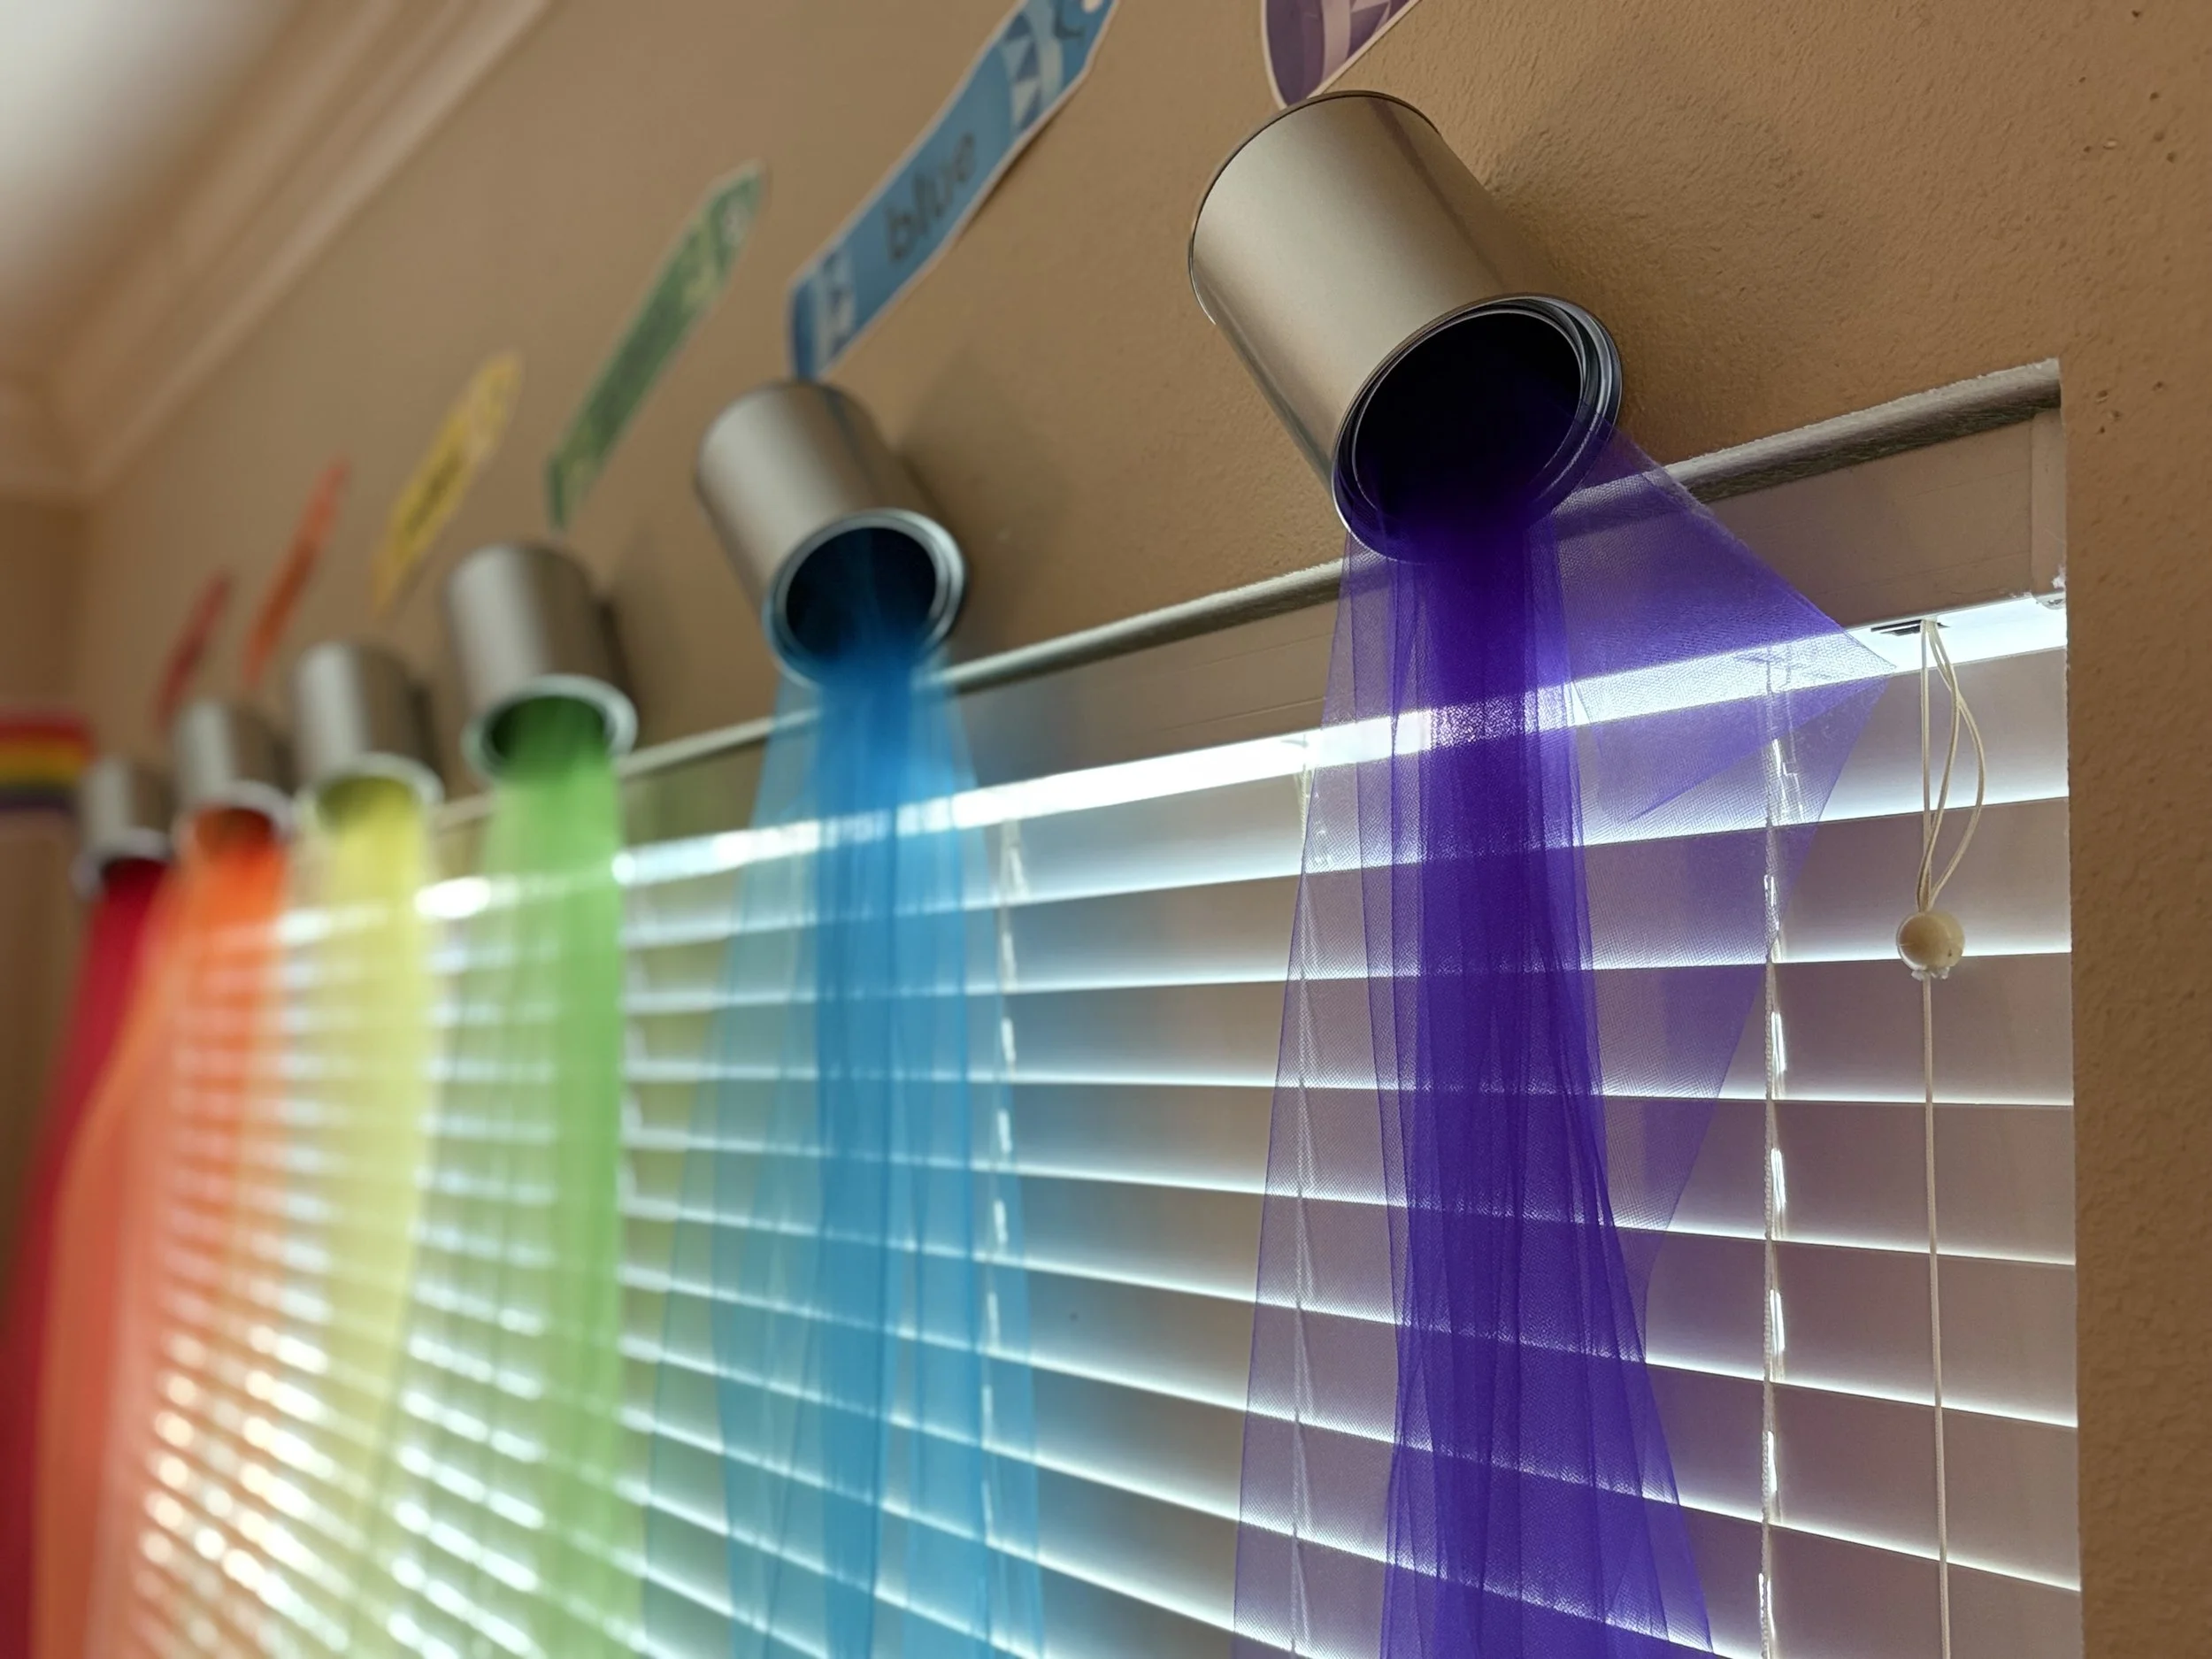
If you are looking for a high-impact, budget-friendly way to brighten up a kids' space, an art studio, a playroom, or a daycare center, you are in the exact right place.
Window valances and basic bulletin boards can get boring. Instead, we are creating a striking visual illusion: miniature paint buckets mounted high up, permanently "pouring" out a vibrant, flowing rainbow of colorful tulle.
The best part? This looks like a custom installation from a high-end children's boutique, but it is actually incredibly simple and affordable to construct. Here is exactly how to make your own pouring paint bucket display in just a few steps.
🛠️ The Supply List
You don't need a massive cart full of expensive supplies. In fact, you can grab everything online or use what you already have at home:
Small Paint Buckets / Empty Paint Cans: You can easily buy a multi-pack of mini plastic or metal craft paint buckets directly from Amazon.
Rainbow Colored Tulle: Grab a variety pack of tulle rolls (Red, Orange, Yellow, Green, Blue, Purple) from Amazon or your local fabric store. (I got mine from Hobby Lobby)
A Hot Glue Gun & Glue Sticks: Your trusty crafting anchor.
Mounting Hardware: Depending on where you are hanging them, you can use heavy-duty Command strips, small drywall screws, or zip-ties if attaching them to an existing curtain rod or blind valance.
📝 Step-by-Step Instructions
Step 1: Prep and Unroll Your Tulle
Decide how long you want your "paint streams" to fall. Measure the distance from the top of your window or bulletin board down to the bottom sill. Cut a long strip of tulle for each color of your rainbow.
Crafter's Tip: Cut the strips about 6 to 12 inches longer than you think you need. You can always trim the bottoms later for a clean edge!
Step 2: Layer and Bunch the "Paint"
Tulle is naturally transparent and airy. To make it look like thick, opaque liquid paint pouring out of the bucket, you want to gather it tightly. Fold or accordion-pleat the top edge of your tulle strip so it bunches up to roughly the width of your bucket opening.
Step 3: Hot Glue the Tulle Inside the Bucket
Turn your mini paint bucket sideways so it mimics a pouring angle. Apply a generous line of hot glue along the inside lower rim of the bucket. Carefully press the bunched top edge of your colored tulle into the hot glue. Hold it securely for a few seconds until the glue cools and hardens.
Step 4: Angle the Spill
To make the tulle drape realistically, pull the fabric forward so it cascades directly over the lip of the bucket. If you want a more controlled look, add a tiny drop of hot glue right on the outer lip of the can to secure the tulle exactly where it should "pour" over the side.
Step 5: Mount Your Masterpiece
Line up your buckets in royal rainbow order (ROYGBIV)! Use heavy-duty double-sided mounting tape or small screws to anchor the back base of the buckets along your window frame, wall, or bulletin board header. Ensure they are tilted slightly downward so the illusion of pouring works perfectly from below.
✨ The Finished Look
Once mounted, let the tulle flow freely downward. You can let them cascade loosely like sheer curtains, or separate the layers slightly to create a wider, dramatic splash pattern over your blinds!
It is an incredibly easy, joyful DIY project that instantly sparks creativity in any early childhood space.